
3 Ways to Enable Wi-Fi on Windows 11
Laptops with the Windows 11 operating system generally no longer come with a designated physical button to enable Wi-Fi. Some laptop manufacturers have replaced it with a combination of the 'Fn' key and one of the 'F1' to 'F12' keys. However, this combination is sometimes ineffective.
This issue is not because your laptop's Wi-Fi hardware lacks drivers. Windows 11 comes with universal Wi-Fi drivers that should work for most laptops.
So, what's the solution? Don't worry, you don't need to be confused. In this article, Carisinyal will provide you with alternative methods to enable Wi-Fi on Windows 11 laptops. Read on to find out and follow these ways!
A. Enabling Wi-Fi via Wi-Fi Icon on the Taskbar
This method is the most common and easy way to enable Wi-Fi. Follow these steps:
- Set up your laptop in home view.

- Point your mouse pointer to the bottom right corner of the taskbar.
- Look for the Wi-Fi icon, which resembles a globe. When Wi-Fi is on, this icon will change to a stacked signal symbol.
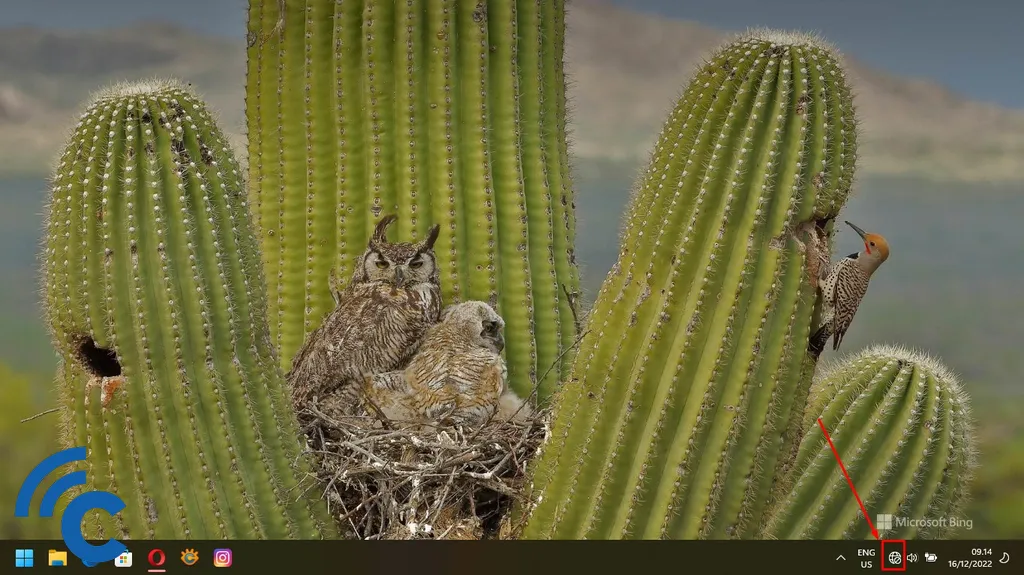
- Click the Wi-Fi icon.
- Make sure Flight Mode is turned off. You will know that this mode is off when the airplane-shaped icon does not have a blue background.
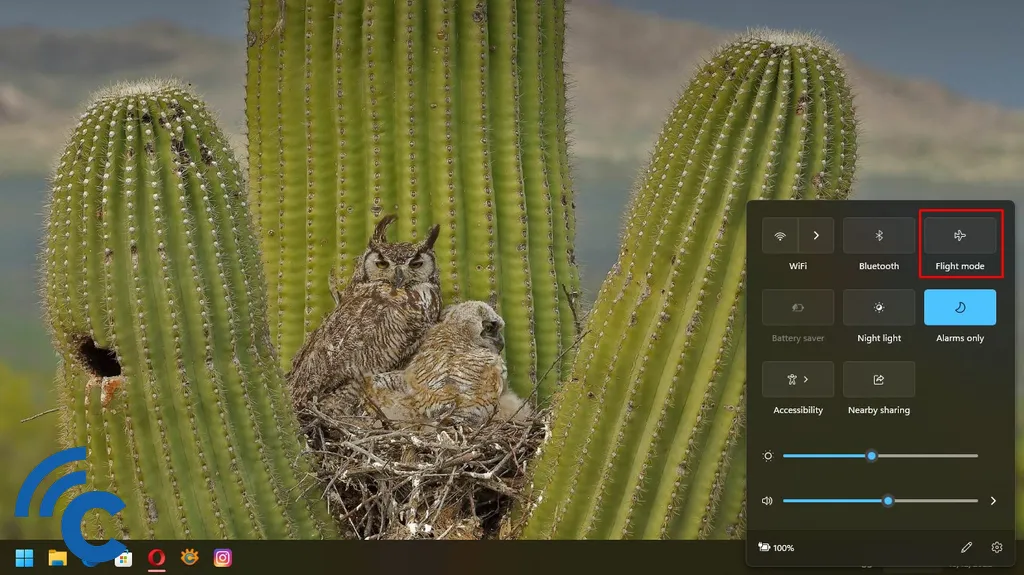
- Click the Wi-Fi icon located next to the Bluetooth icon to enable Wi-Fi.
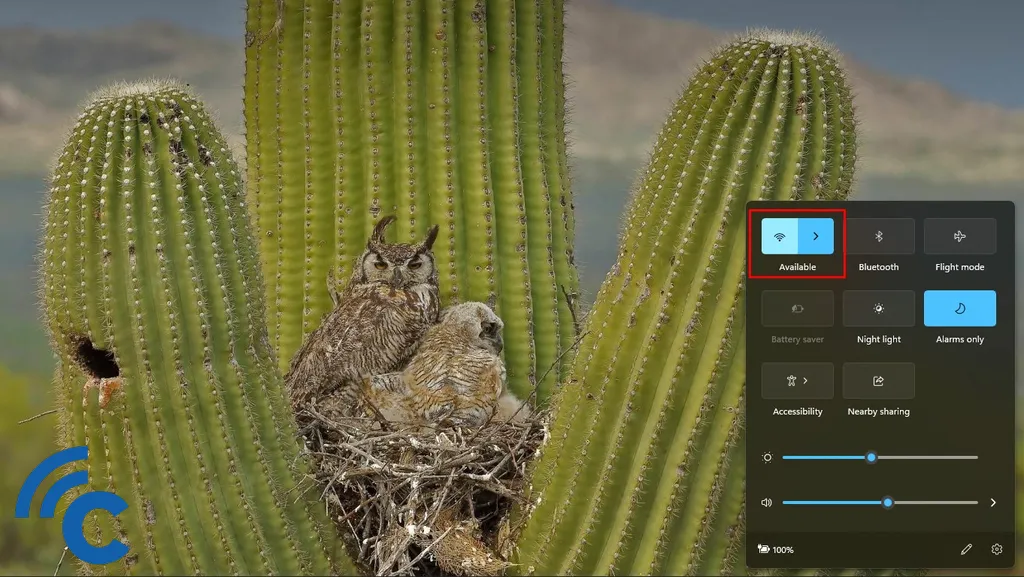
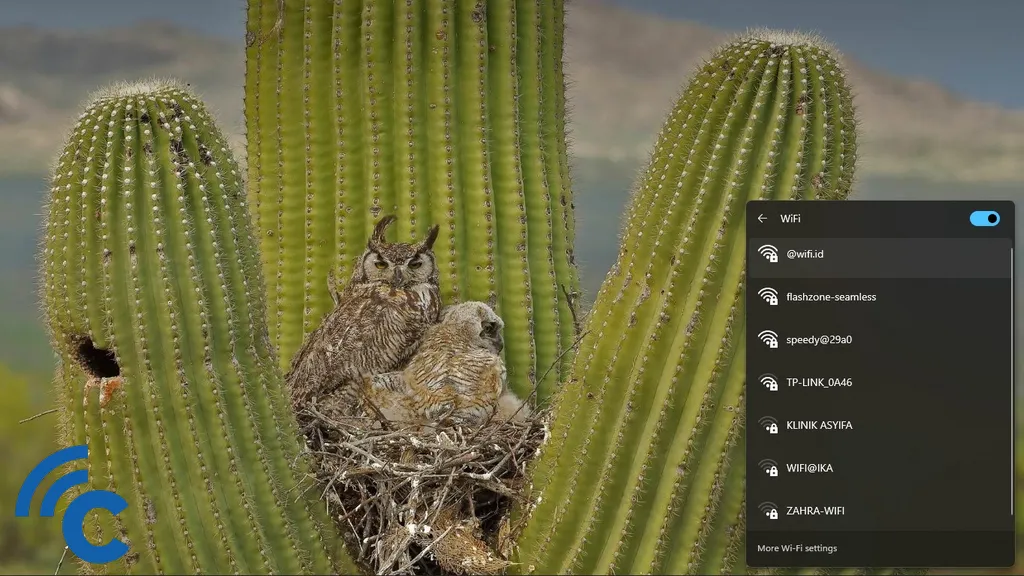
- Click the arrow next to the Wi-Fi icon.
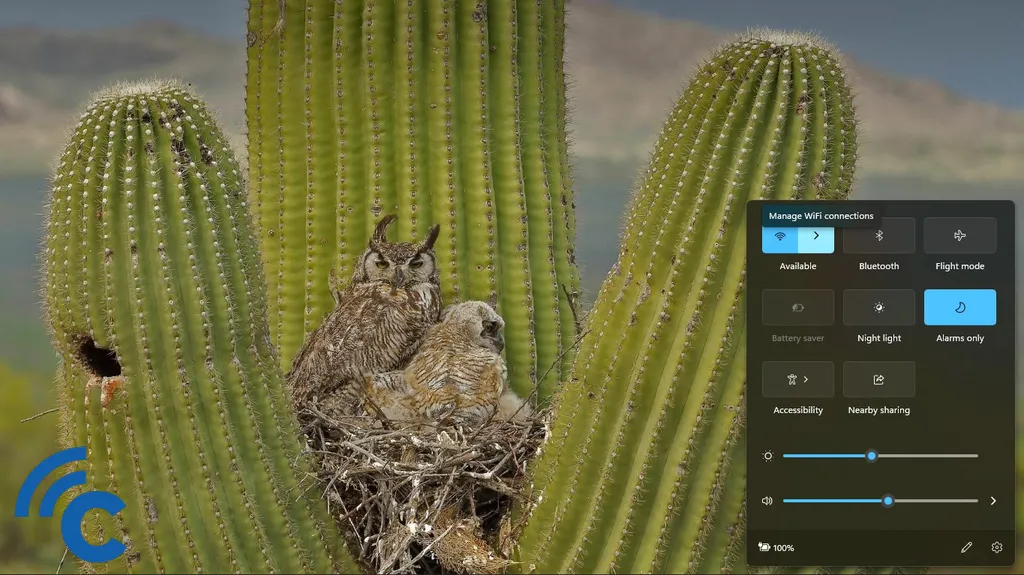
- Select the network you want to connect to, and then click "Connect".
- If required, enter the network password.
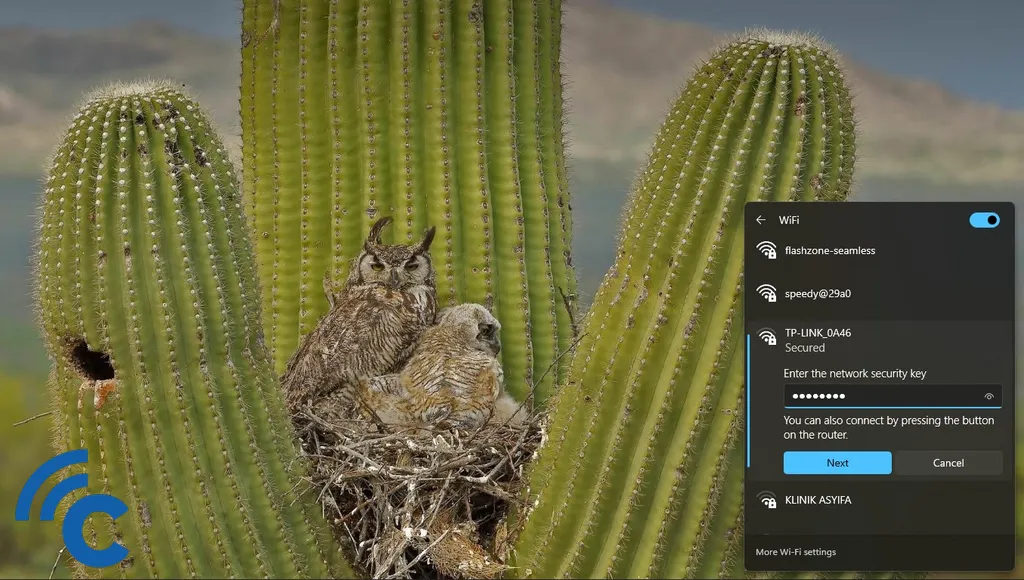
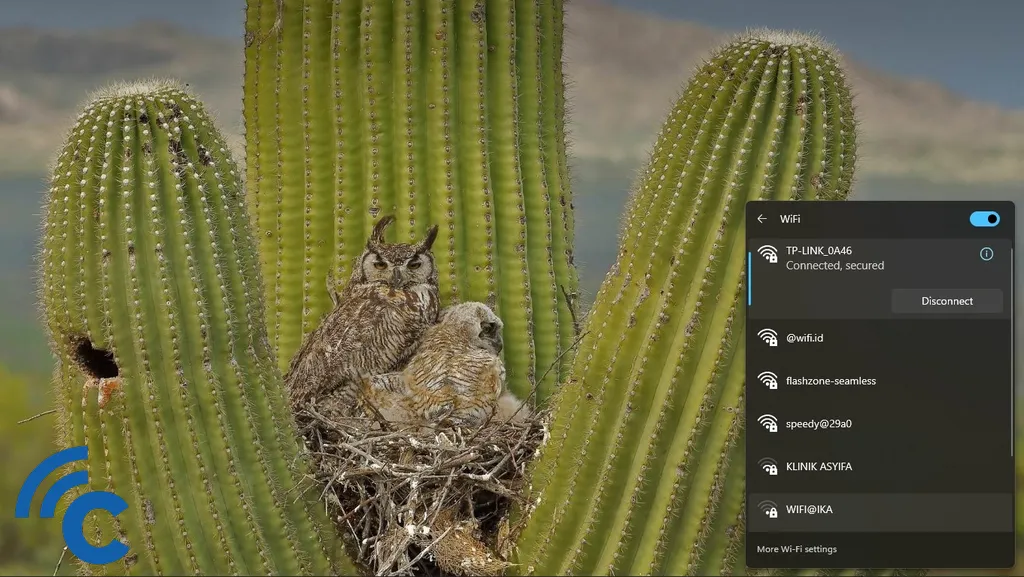
- Click "Next", and your laptop will be connected to the Wi-Fi network.
B. Enabling Wi-Fi via Wi-Fi Settings
Windows 11 offers an alternative method of enabling Wi-Fi, apart from using the Wi-Fi icon. You can do so by accessing the Wi-Fi Settings menu. Follow the steps below:
- Make sure your laptop is on the home screen.
- Press the Windows key on your keyboard.
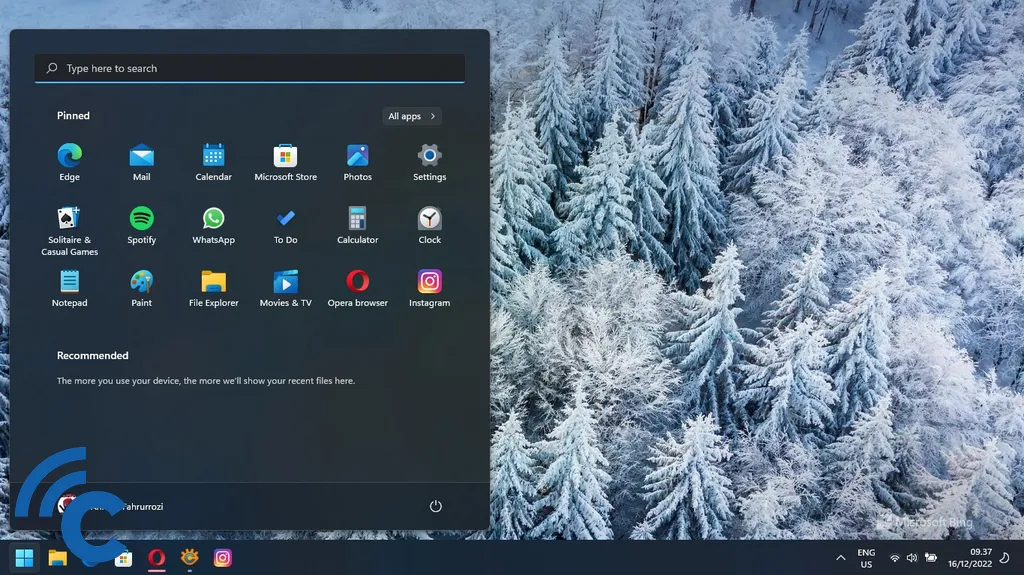
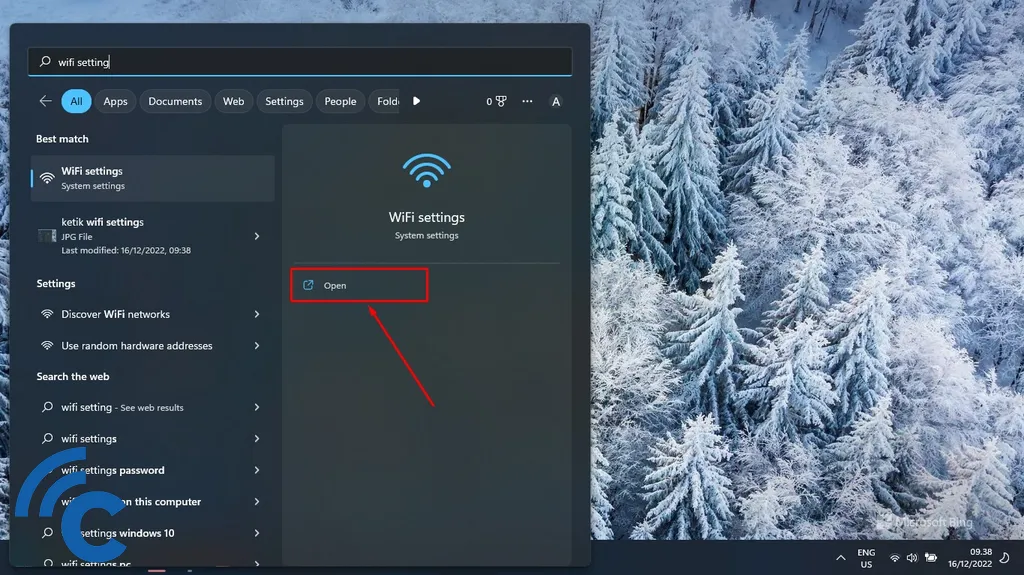
- Type "Wi-Fi settings" in the search bar.
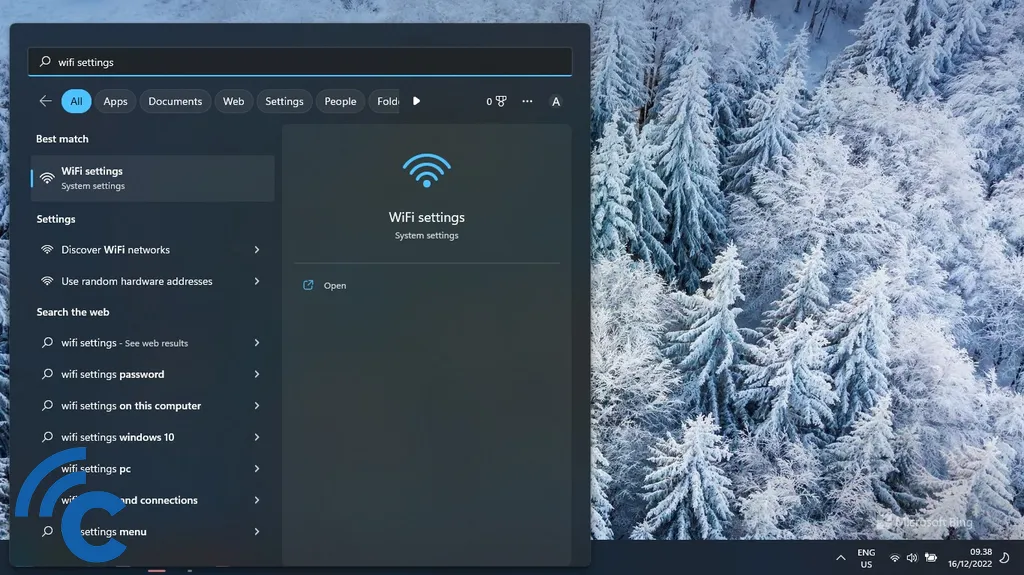
- Click "open" to access it.
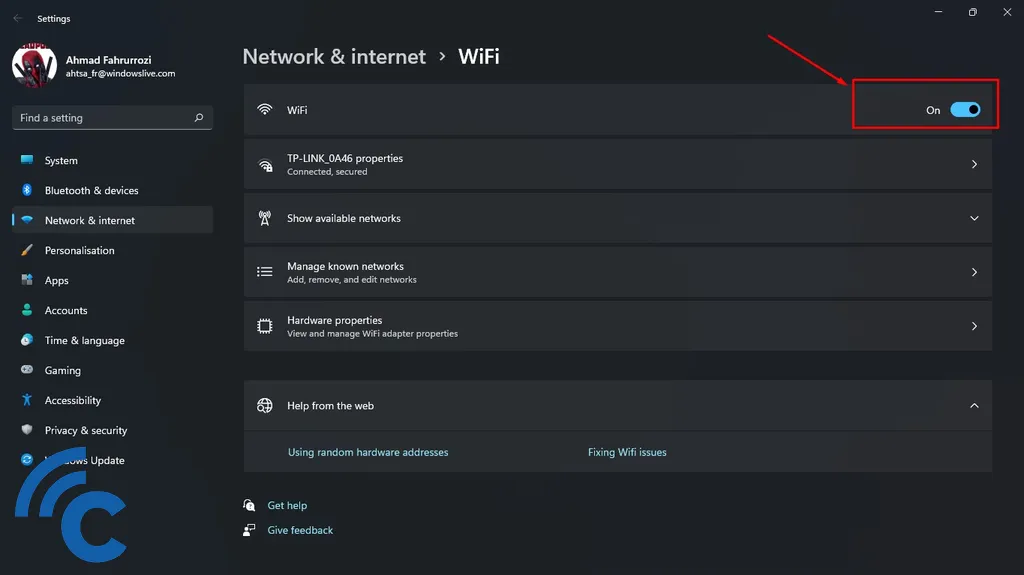
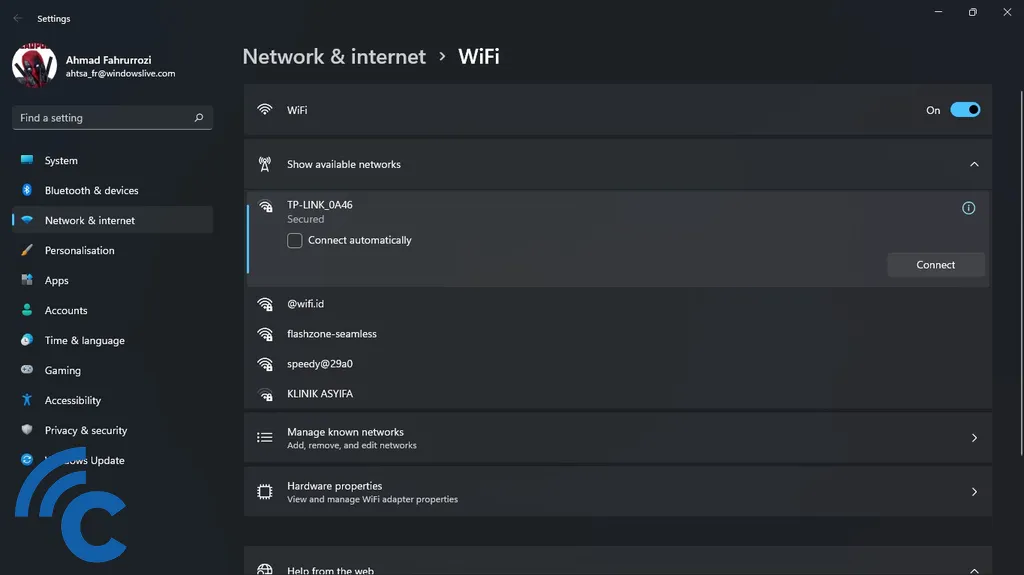
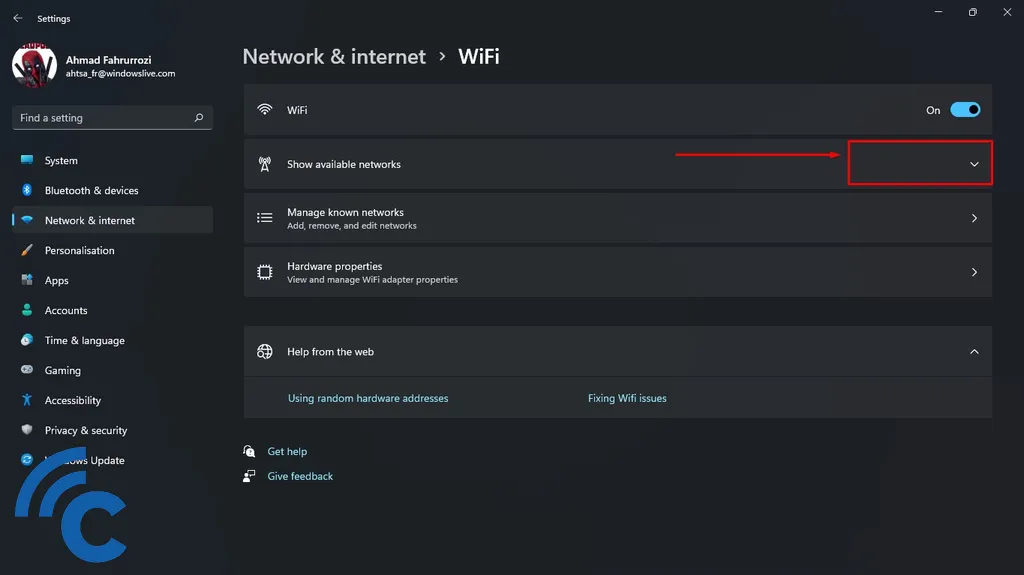
- Slide the Wi-Fi button to the right to turn it to the "On" position.
- Click the down arrow next to the "Show available networks" bar.
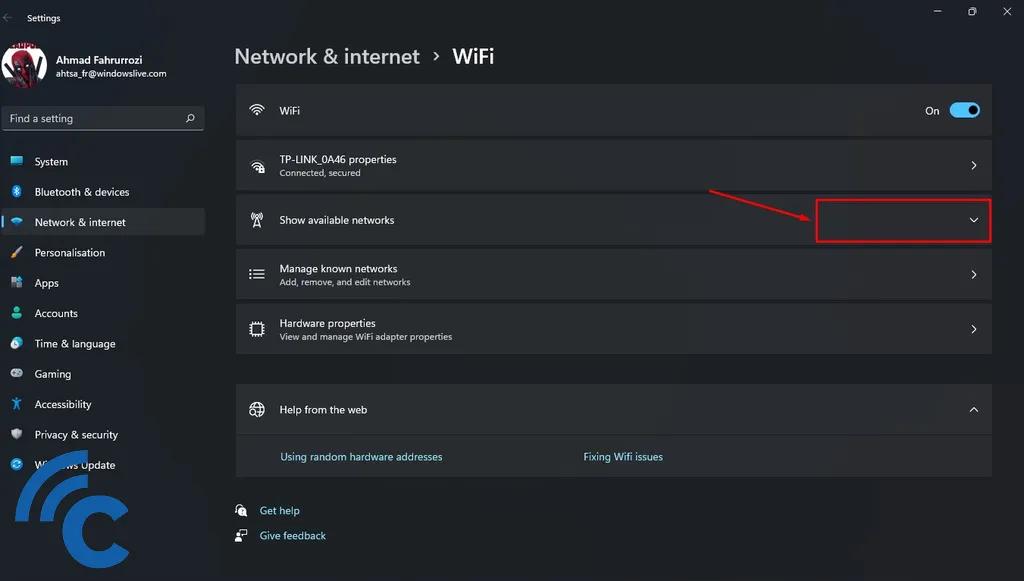
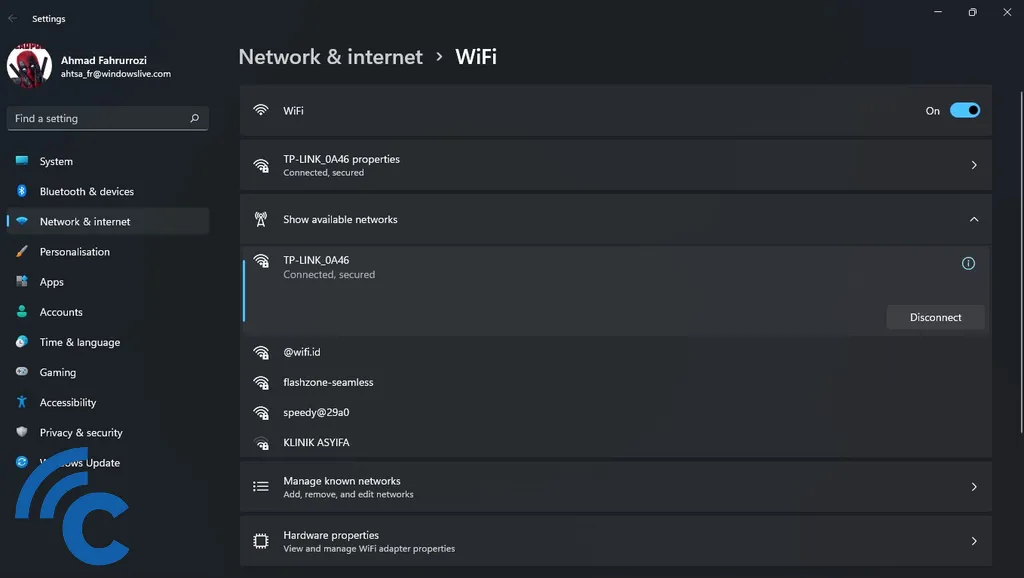
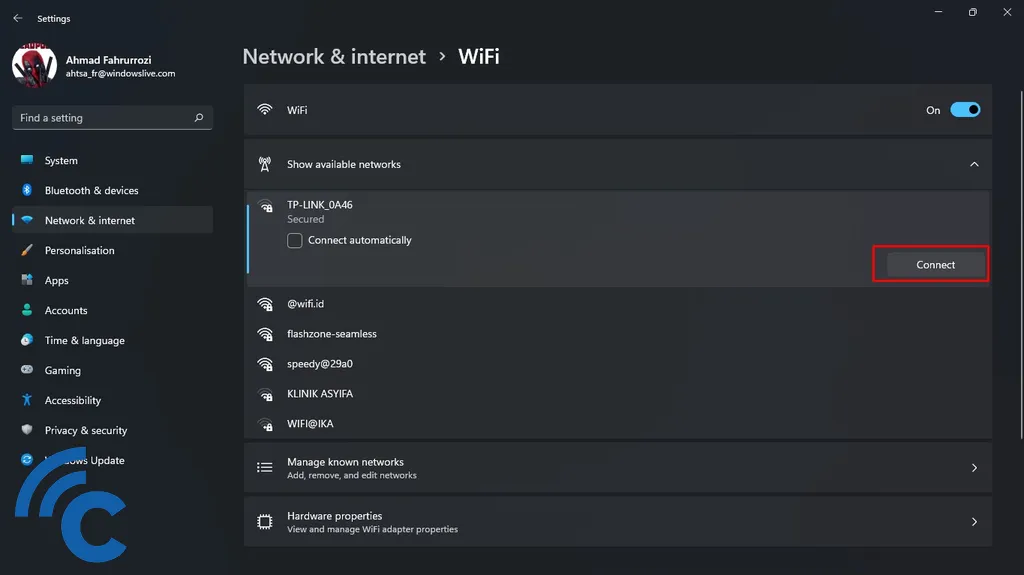
- Select the network you want to connect to, then click "Connect".
- If required, enter the password.
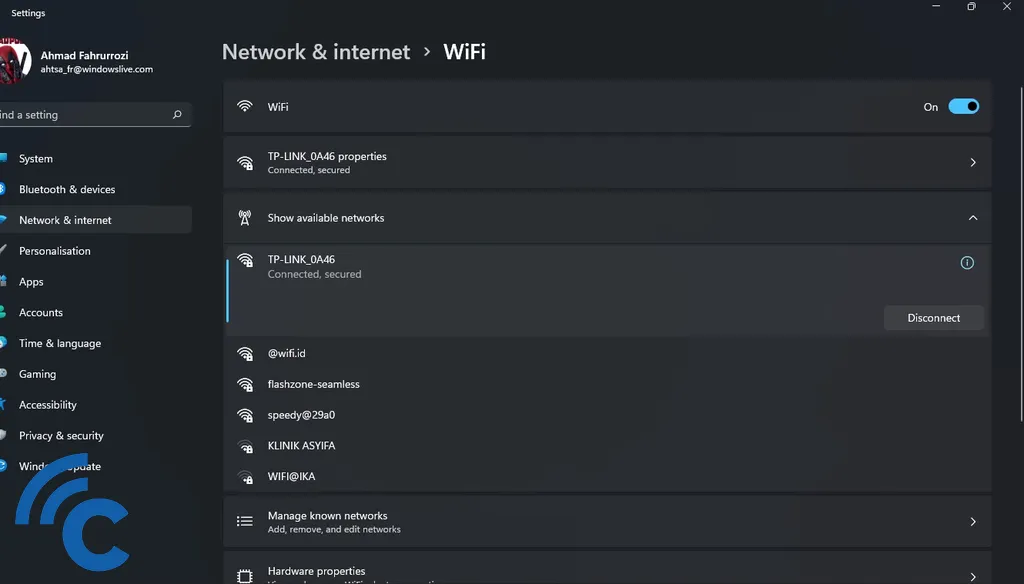
- Click "Next", and your laptop is now successfully connected to a Wi-Fi network.
C. Enabling Wi-Fi via Quick Links
In Windows 11, the option to enable Wi-Fi in Windows Mobility Center has been removed. However, Microsoft has provided an equally simple alternative method, which is to use the Quick Links feature. Here's how to access Quick Links and enable Wi-Fi:
- Make sure your laptop is on the home screen.
- Press the Windows key and the X key simultaneously on your keyboard (Windows + X).
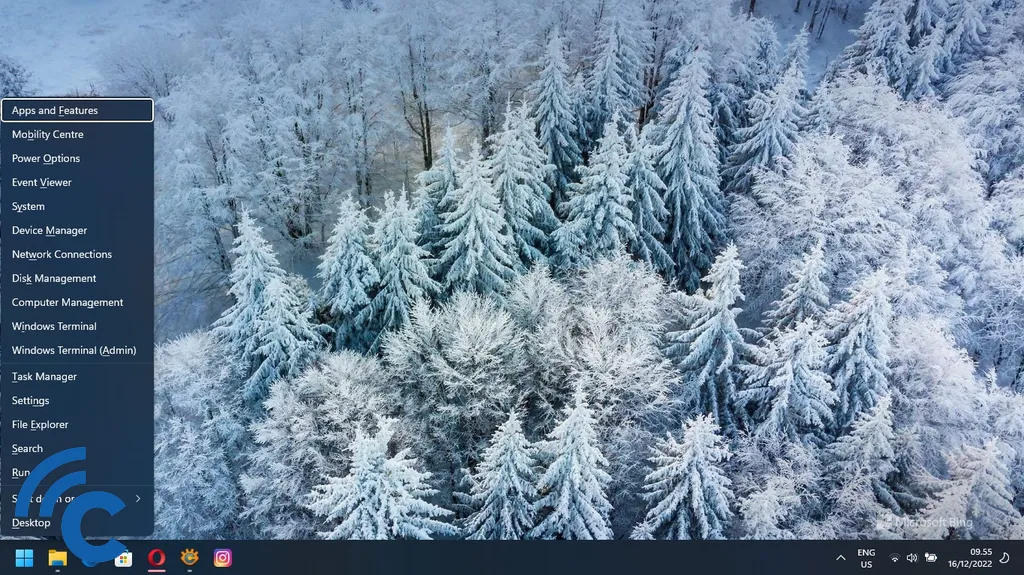
- Click on "Network Connections", or you can press the letter 'W' on your keyboard.

- Scroll down the menu, and make sure the Flight Mode switch is set to "Off".
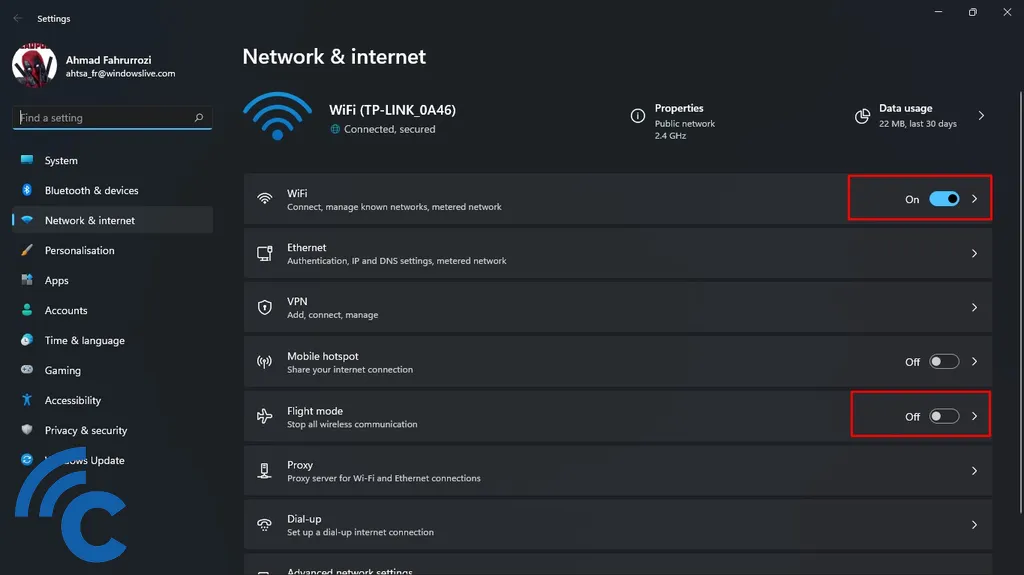
- Next, slide the Wi-Fi button to the right to change it to "On".
- Click the arrow to the right of the Wi-Fi button.
- Then, click the arrow next to the "Show available networks" bar.
- Select the Wi-Fi network you want to connect to.

- Click "Connect".
- If required, enter the password.
- Click "Next", and you're done. Your laptop is now connected to a Wi-Fi network.
Those are the three methods to enable Wi-Fi on a Windows 11 laptop. The basic steps are the same; only the access methods differ. The most important thing is to make sure that Flight Mode is turned off before enabling Wi-Fi.