
How to Uninstall Avast Antivirus Thoroughly
Microsoft has included a built-in security application since the launch of Windows 7 in 2009. Originally called Microsoft Security Essentials, it is now known simply as Windows Security.
Despite this, some Windows users feel the need for additional protection and choose to install third-party antivirus software. Among the many options available, Avast has become a popular choice. Developed by a company from the Czech Republic, Avast is trusted by over 435 million users worldwide across various devices.
One of Avast’s biggest appeals is that it offers free services, including Avast Free Antivirus and Avast Secure Browser.
However, not all users are satisfied with Avast’s performance. Some find it intrusive, as it frequently interferes with their activities by falsely flagging applications as threats and disrupting their functionality. Additionally, Avast sometimes deletes important files it mistakenly identifies as infected, which can be frustrating.
As a result, some users decide to uninstall the software. While Avast can typically be removed through the Control Panel’s Uninstall feature, in some cases, residual files remain on the system.
To address this, Carisinyal will share effective tips on how to completely uninstall Avast Antivirus.
Through Control Panel
You can manually remove Avast Antivirus using the uninstall feature in the Windows Control Panel. However, there are additional steps that should not be overlooked. Here’s how to do it:
1. Open Settings in the Avast App
You can open the Avast application by double-clicking its shortcut on the desktop or selecting its icon from the Start menu.
Alternatively, you can access it by clicking the hidden icons in the bottom right corner of the taskbar, then right-clicking the Avast icon and selecting Open Avast User Interface.
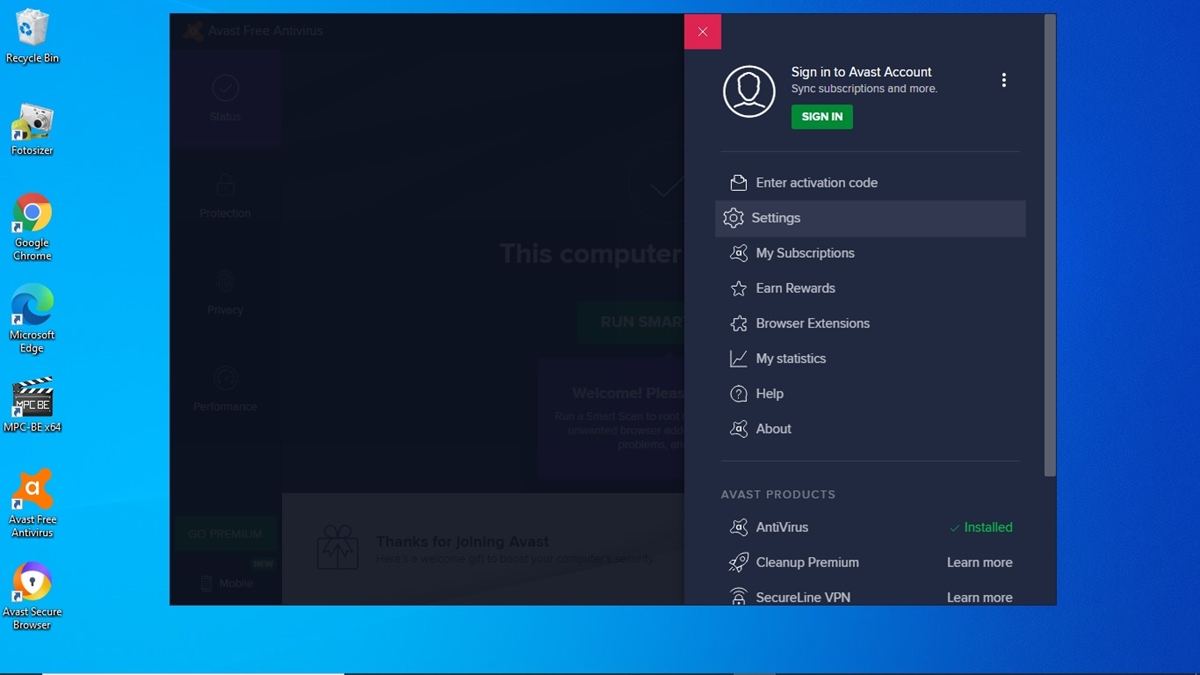
Once the main Avast window appears, click Menu in the top right corner near the Notification icon. Then, select Settings from the second row of options in the menu.
2. Uncheck Enable Self-Defense
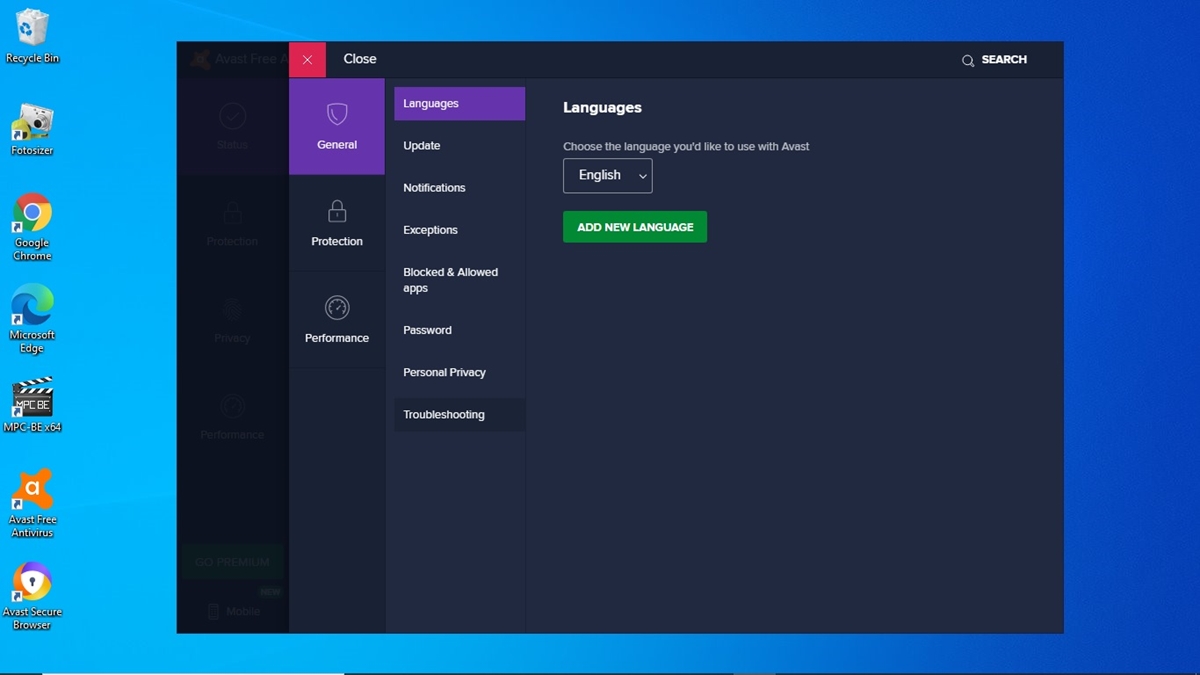
After entering the Settings menu, navigate to the General tab and select Troubleshooting.
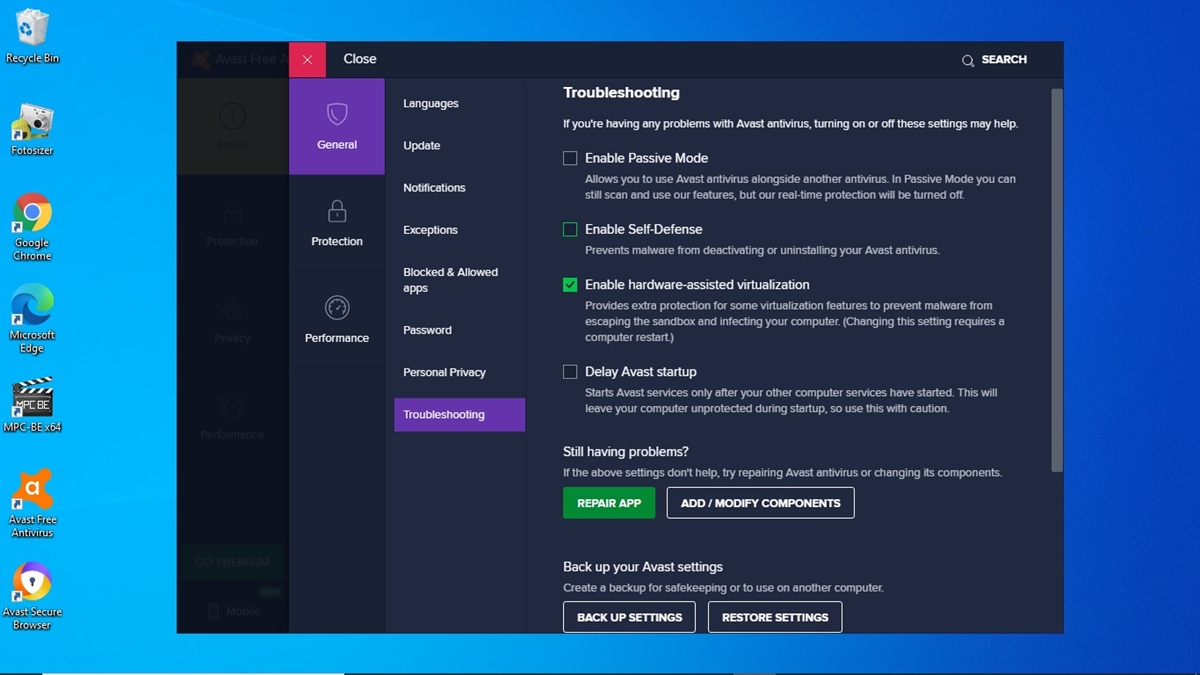
Next, uncheck the box next to Enable Self-Defense by clicking on it. If a warning message appears about disabling Avast’s self-defense system, simply ignore it and click OK, Disable. Then, exit the Avast application.
3. Open Control Panel
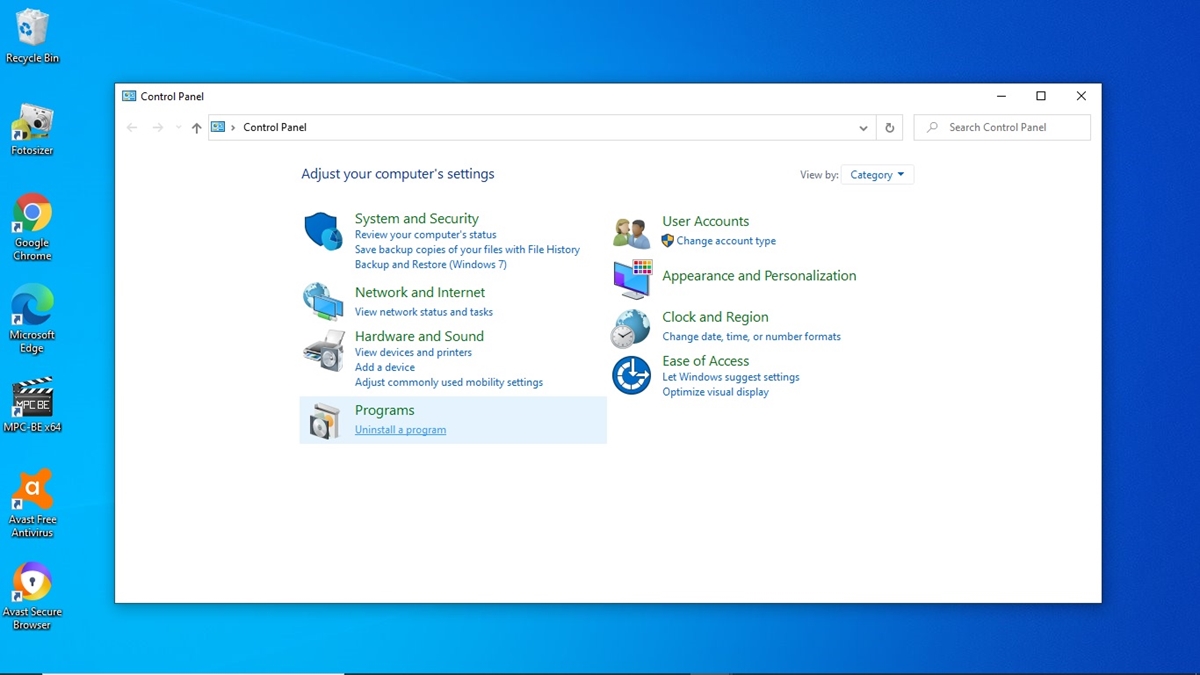

Next, open the Control Panel. You can do this by typing Control Panel in the search bar next to the Windows logo and pressing Enter. Then, click Uninstall a Program under the Programs section.
Find Avast Free Antivirus at the top of the program list, select it, and click Uninstall. When prompted, choose Yes. A confirmation message from Avast will appear. To proceed, click Uninstall at the bottom of the window.
The uninstallation process may take a few minutes to remove all program files. Once it's complete, restart your computer.
Using Avast Uninstall Utility
If the methods above seem too complicated, there is a simpler way to uninstall Avast Antivirus using their own tool: Avast Uninstall Utility (Avast Clear). Here’s how to use it:
1. Download Avast Uninstall Utility
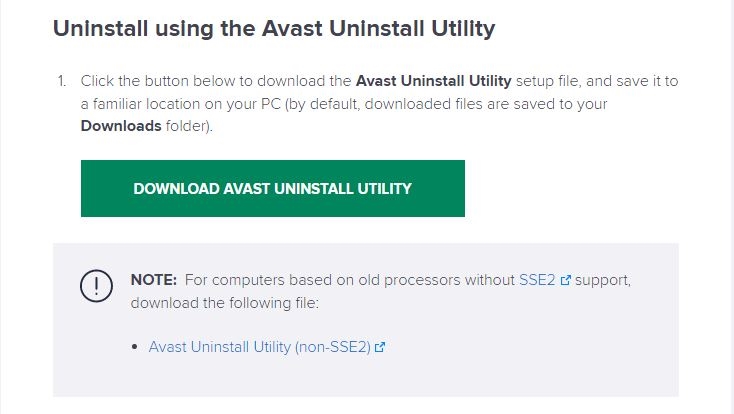
First, download the application from the official Avast website, never download Avast Uninstall Utility from third-party sources. You can access the official site from here.
Once the download is complete, navigate to the folder where the file is saved. Then, open the file using a special method: right-click on it and select Run as Administrator.
2. Enter Safe Mode
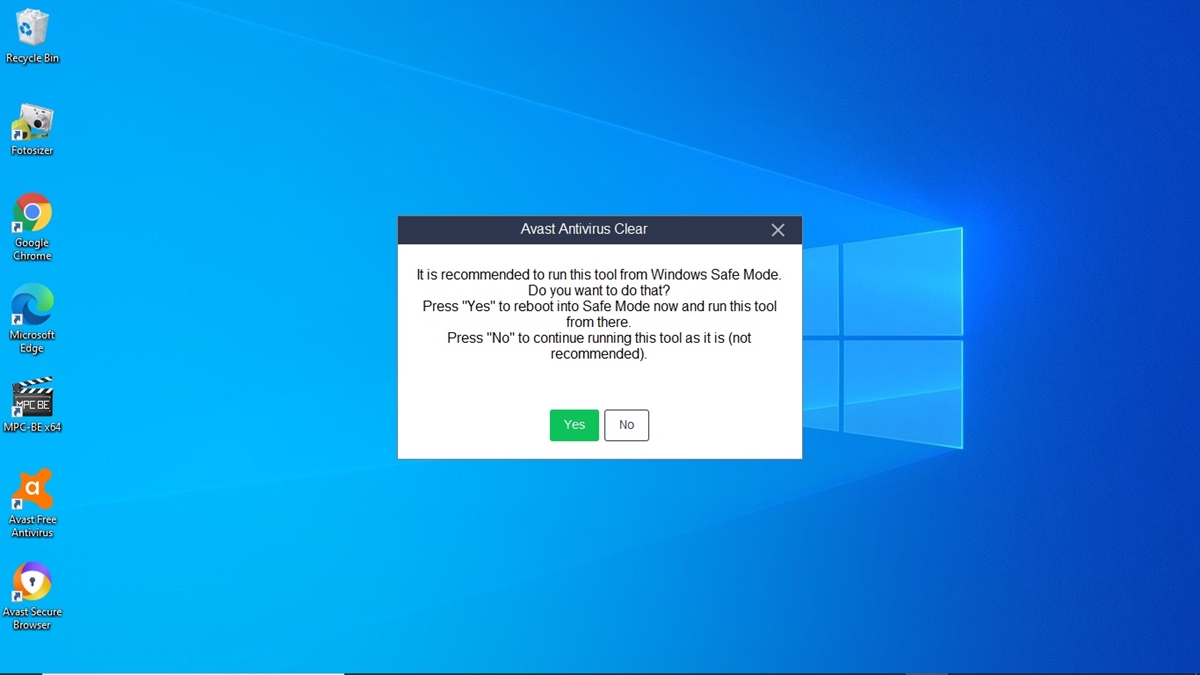
Avast Uninstall Utility will recommend running the uninstallation process in Safe Mode. Agree to this recommendation by clicking Yes on the prompt that appears.
To enter Safe Mode, your computer will need to restart. Click Yes on the next dialog box to proceed. However, before restarting, make sure to close all open applications and save your work to prevent data loss.
3. Run the Uninstall Process
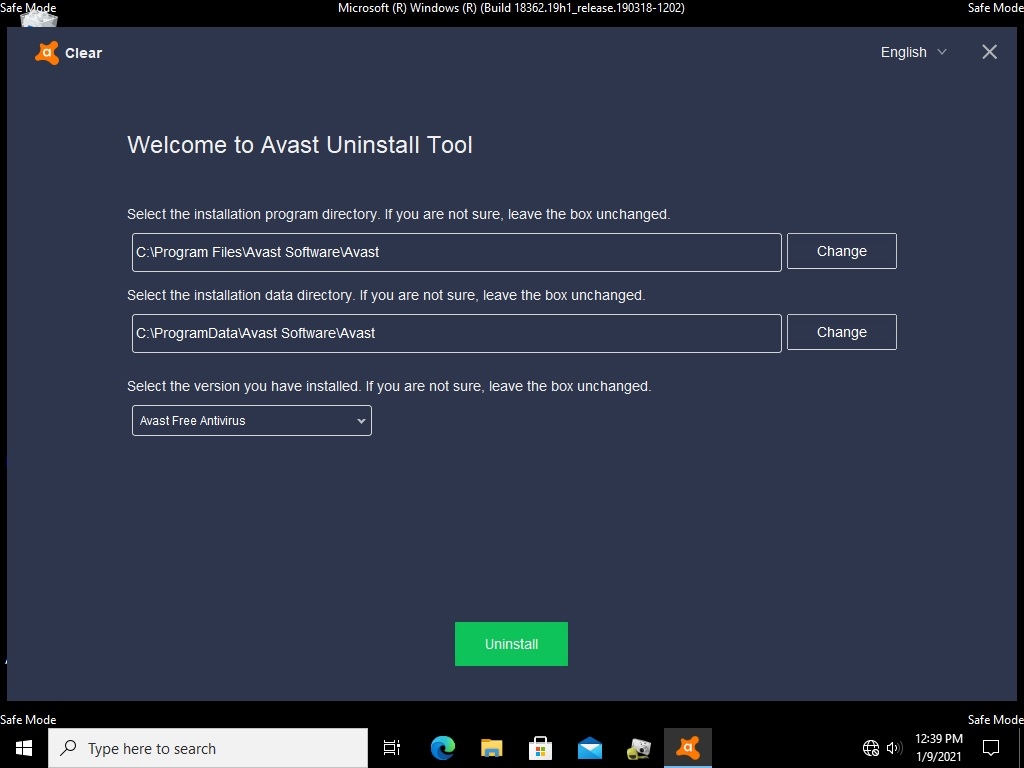
Once your computer enters Safe Mode, the Avast Uninstall Utility window will appear. Before proceeding, double-check the installation directory of Avast Antivirus to ensure it's correct. Once confirmed, click the green "Uninstall" button at the bottom.
Wait for the process to complete. When finished, restart your computer to return to normal mode.
Using CCleaner App
In addition to using Windows' built-in uninstall feature and Avast Uninstall Utility, you can also remove Avast with third-party applications such as CCleaner, IObit Uninstaller, Revo Uninstaller, and Wise Uninstaller.
This time, Carisinyal will provide a step-by-step guide using CCleaner. Here’s how:
1. Download CCleaner
Make sure you have the latest version of CCleaner for the best results. If you haven't installed it yet, you can download it here. Once the download is complete, double-click the file to install CCleaner.
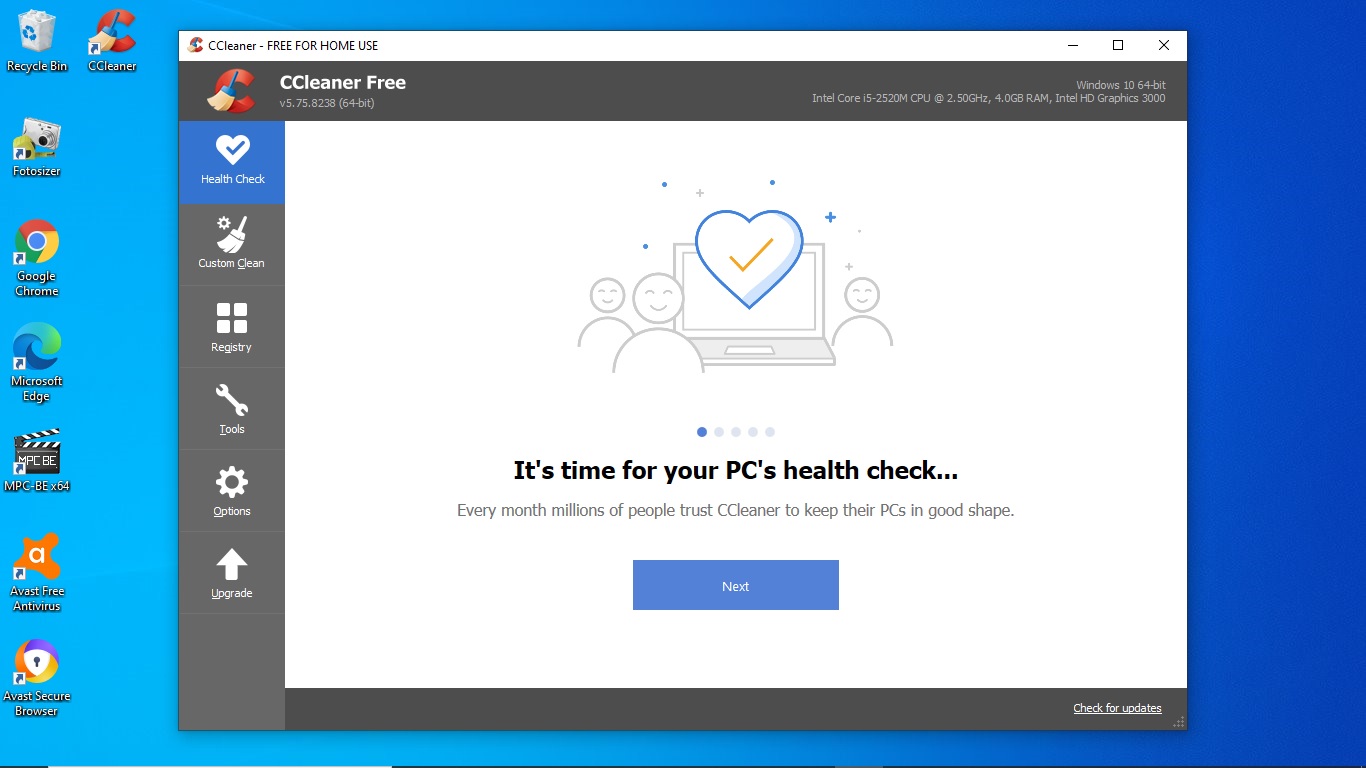
Next, open CCleaner by double-clicking its shortcut on the desktop. Alternatively, you can find it in the Start menu and click the CCleaner icon.
2. Open Tools
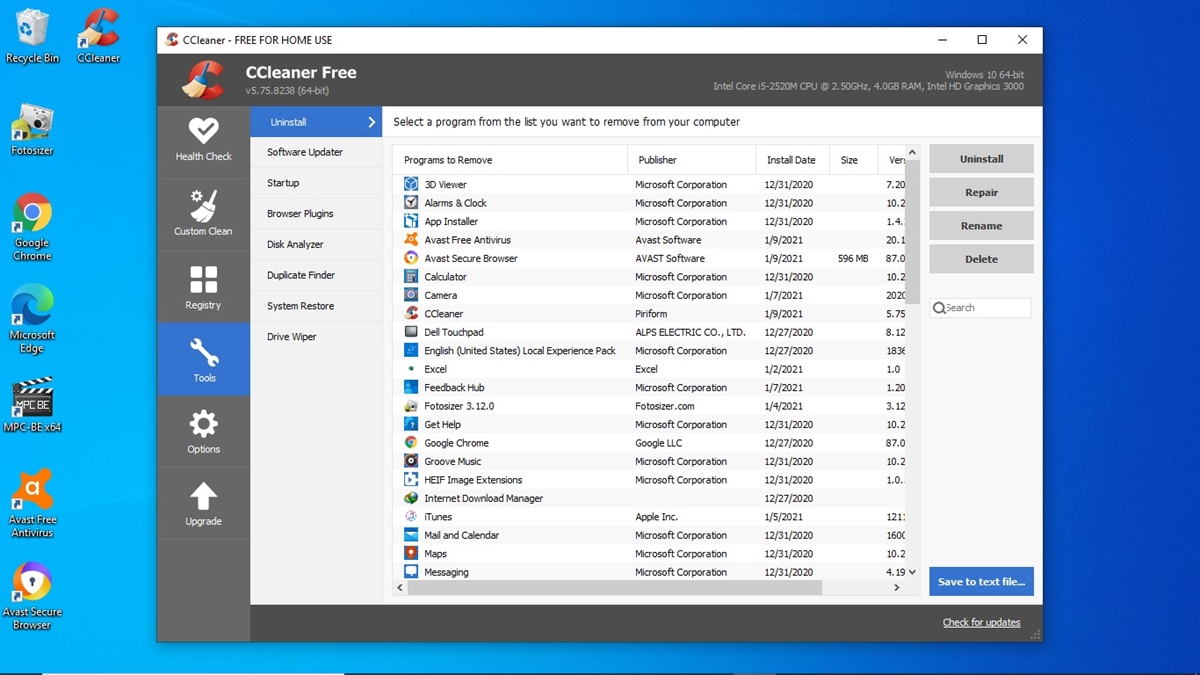
From the CCleaner main screen, move your cursor to Tools and click the wrench icon. After clicking the wrench icon, CCleaner will automatically take you to the Uninstall feature, which is at the top of the list.
Now, find and select Avast Free Antivirus, then click the Uninstall button on the right side.
Shortly after, Avast will prompt you to confirm the uninstallation. Click Uninstall at the bottom of the options list. If an additional warning appears, simply click Yes and wait for the process to complete.
3. Restart
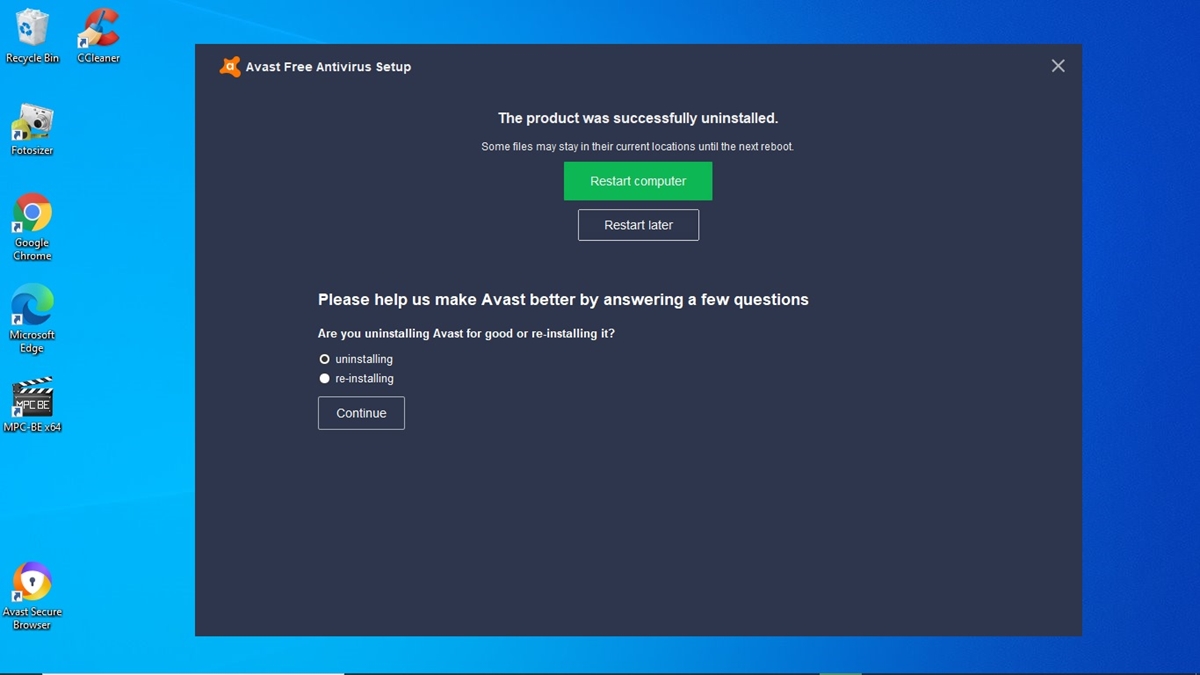
After Avast finishes removing its program files, it will prompt you to restart your computer. Follow the instructions by clicking Restart Computer in the green box.
Before proceeding, make sure to close all open applications and save your work to prevent any data loss.
However, the uninstallation process isn’t fully complete after the restart. Some registry files may still be left behind. To remove them, reopen CCleaner and proceed with the next steps.
4. Open Registry
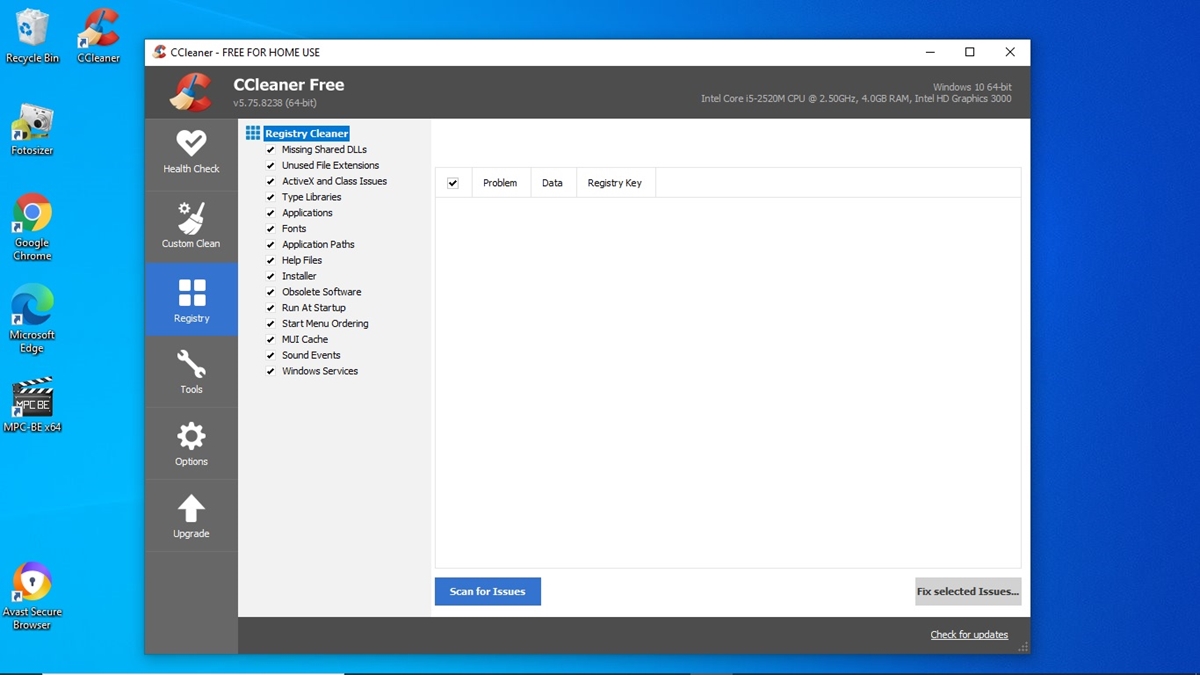
On the left menu bar, click Registry. Next, click Scan for Issues and wait for the scanning process to complete. Once the scan is finished, click Fix Selected Issues in the bottom right corner.
When prompted to choose whether to back up the registry, select No. This will ensure that all leftover traces of Avast Antivirus are completely removed from your system.
5. Click Fix All Selected Issues
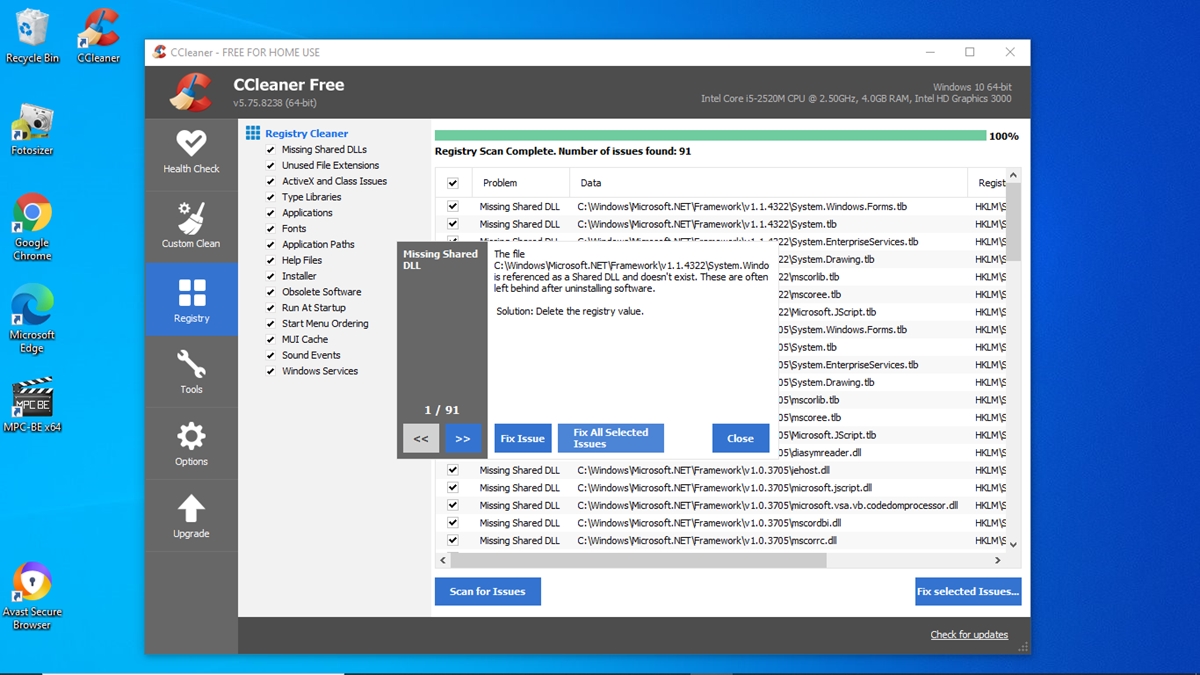
Next, click Fix All Selected Issues. The number of issues detected on your computer may differ, as CCleaner also scans for other potential problems.
Once the process is complete, click Close and exit CCleaner. Now, your system is completely free from Avast Antivirus.
Those are the step-by-step methods to fully uninstall Avast Antivirus. Essentially, all approaches serve the same purpose, removing the application along with its leftover registry files.
Now, it's up to you to choose the method that feels simplest and most convenient. Good luck, and happy cleaning!