
4 Easy Ways to Format a USB Flash Drive
Flash memory is becoming more popular as CDs and other optical storage options fade away. One common example is the flash drive you might have in your bag.
Flash drives are widely used by students, professionals, and many others because they are small, portable, rewritable, durable, and affordable. Plus, their storage capacity and speed keep improving over time.
However, using a flash drive isn’t always problem-free. At some point, you might run into issues, like plugging it into your laptop and being unable to access your files.
One way to fix this is by formatting the flash drive. Formatting erases all data and restores the device to its original state. There are four methods you can use to do this, starting with Command Prompt (CMD).
1. Using Command Prompt (CMD)
The first and most common way is through Command Prompt (CMD). Follow these steps to format your flash drive using CMD:
1. Open Command Prompt
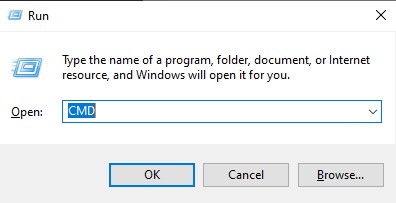
First, insert the flash drive into the most reliable USB port on your laptop. Then, press Windows + R on your keyboard to open the Run dialog. Type "CMD" and press Enter to launch the Command Prompt.
2. Run the Diskpart Command
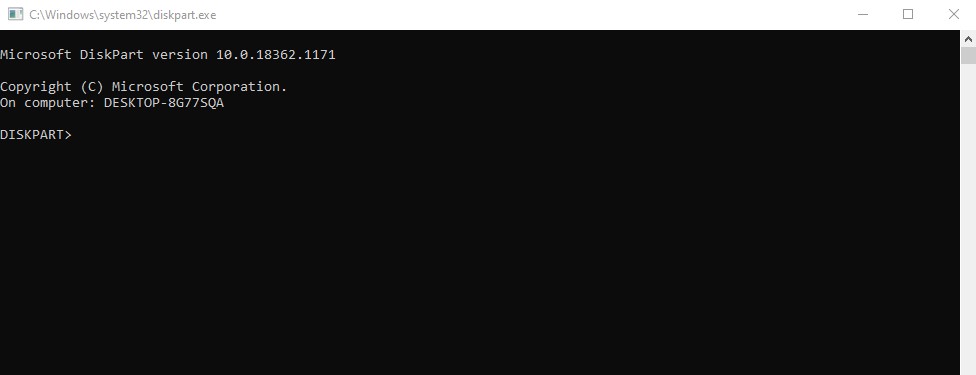
With the CMD window open, type diskpart. Then, press Enter. If a warning message appears, simply ignore it and click "Yes" to proceed.
3. Select the Flash Drive to be Formatted
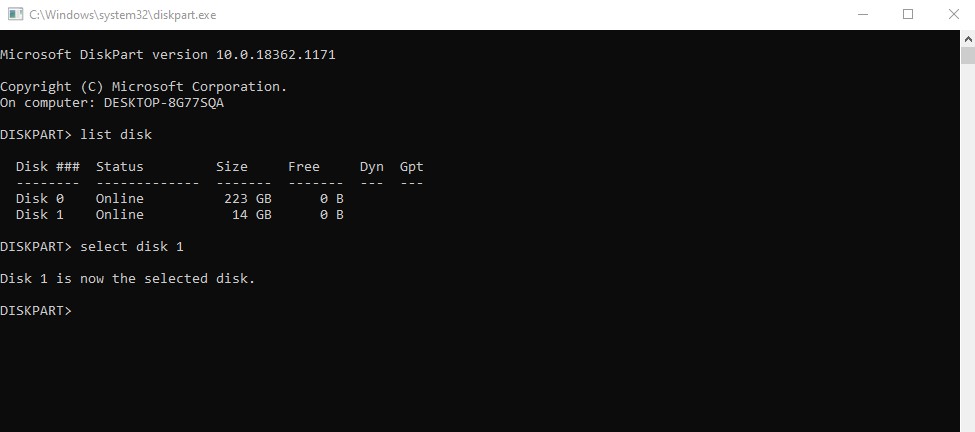
Next, type list disk and press Enter. A list of all storage devices connected to your laptop will appear.
Now, identify your flash drive. If it is listed as Disk 1, type select disk 1 and press Enter. Note that your flash drive may be labeled as Disk 2, Disk 3, or another number depending on your system. Be careful when selecting to avoid formatting the wrong drive.
4. Erase All Data
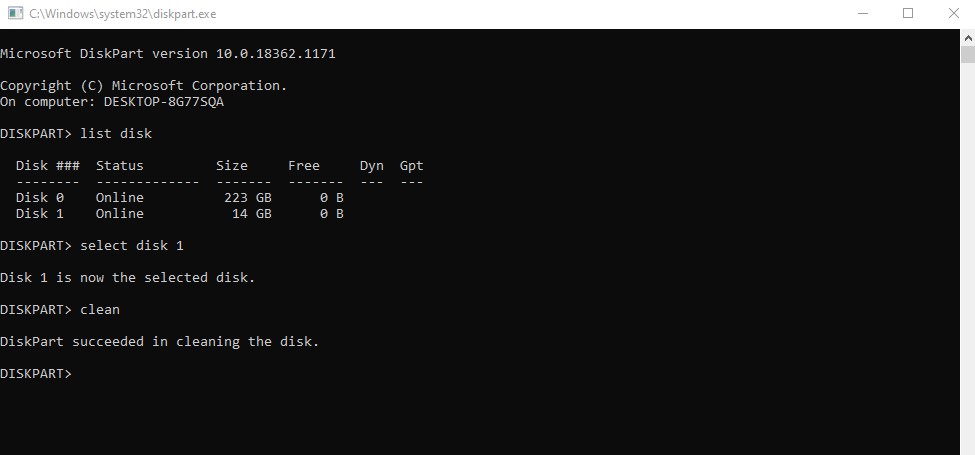
To remove all existing data, type clean and press Enter. Wait a few moments for the process to complete. Once finished, the flash drive will be wiped and ready for formatting.
5. Format the Flash Drive
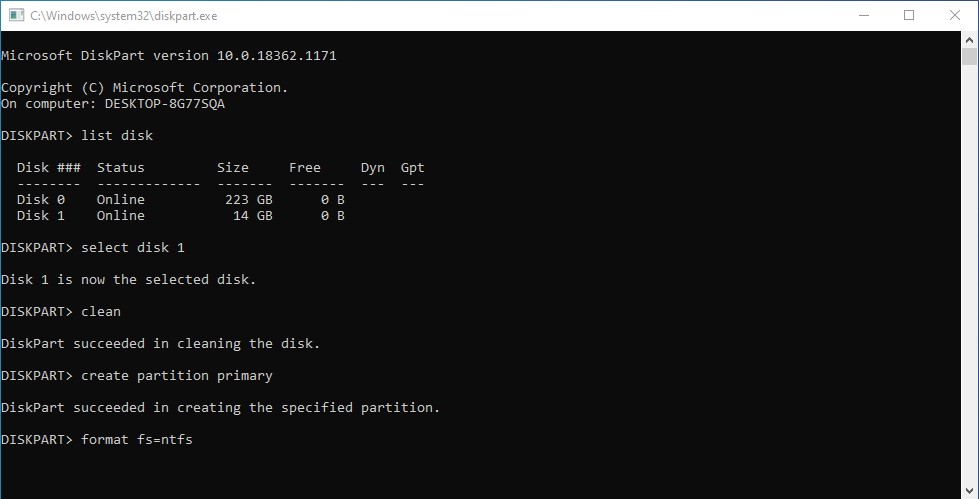
Now, create a new partition by typing create partition primary and pressing Enter.
Next, format the flash drive by typing format fs=ntfs and pressing Enter. The formatting process will start immediately. Wait until it reaches 100% completion. Once done, your flash drive is successfully formatted and ready to use.
2. Using Disk Management
Formatting a flash drive using CMD might be a bit complicated for some users. As an alternative, you can use Disk Management, a built-in Windows tool. Follow these steps to format your flash drive using Disk Management:
1. Open Disk Management
First, insert your flash drive into the most stable USB port on your laptop. If both your flash drive and laptop support USB 3.0, plug it into a USB 3.0 port for better speed.
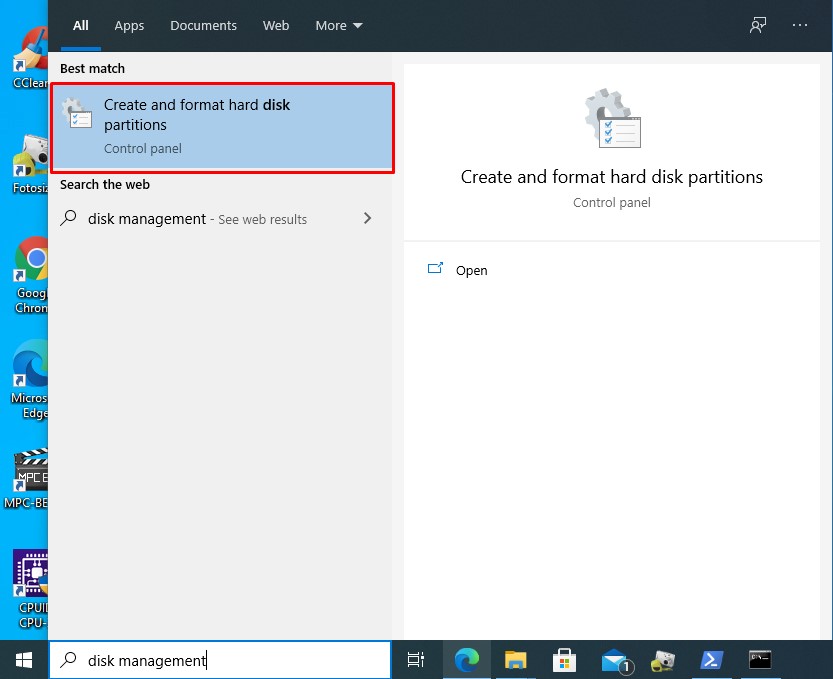
Next, press the Windows key, type Disk Management, and select "Create and format hard disk partitions" from the search results.
2. Choose a File System
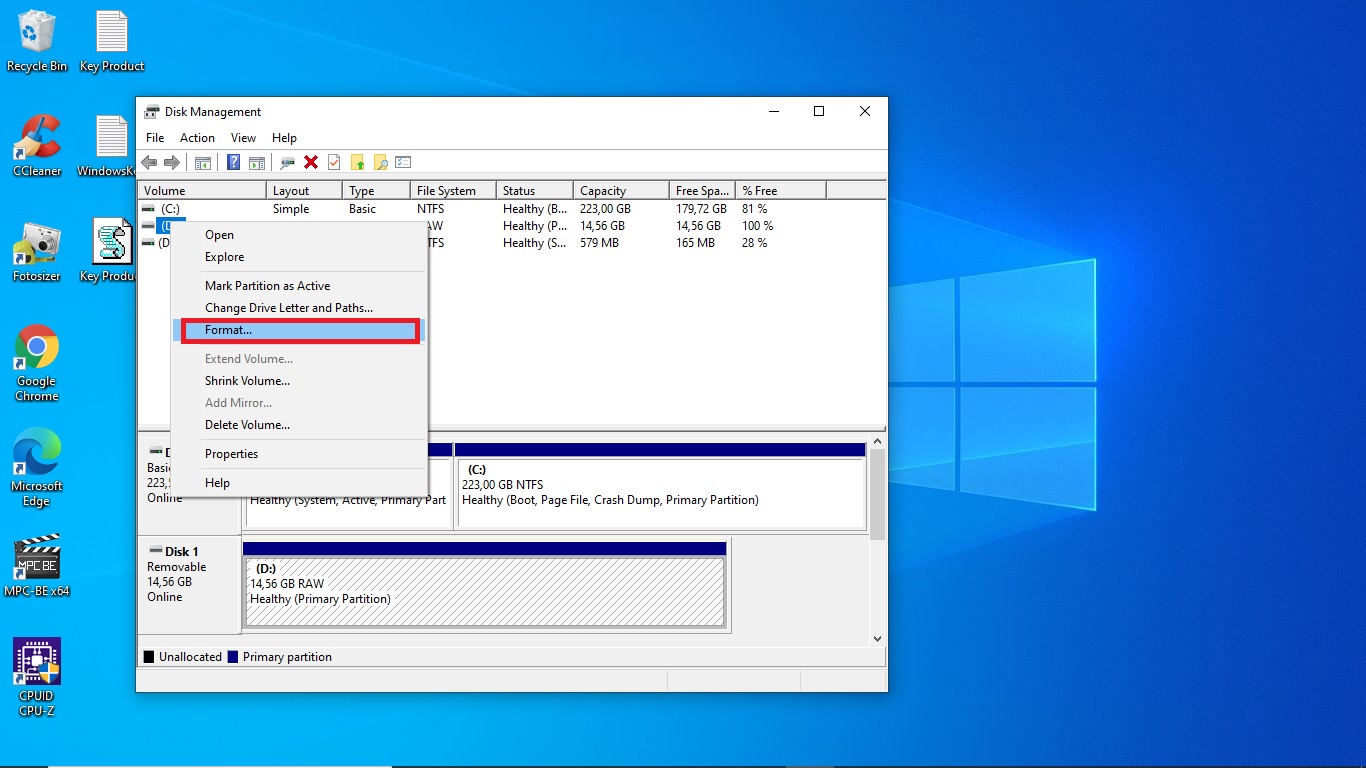
In the Disk Management window, locate your flash drive, then right-click on it and select "Format...".
Next, choose the file system that best suits your needs. In this example, we select NTFS because this format allows files larger than 4GB to be transferred. However, if your work doesn’t require moving large files, FAT32 is a better option.
3. Format the Flash Drive
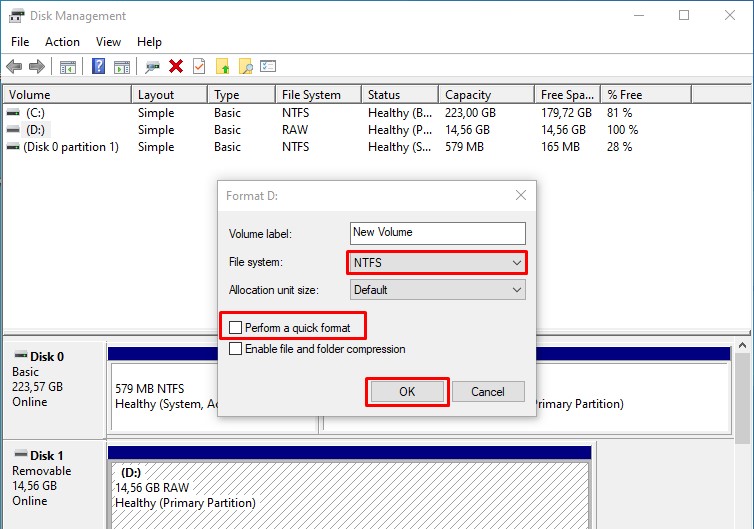
Leave the "Allocation unit size" at its default setting. Uncheck "Perform a quick format" and any other options below it. Then, click "OK" to start the formatting process.
Wait until the process is complete. You can continue using your laptop for other tasks while the format runs in the background.
3. Using PowerShell
Windows PowerShell, formerly known as Microsoft Shell, also allows you to format a drive using specific command codes. Follow these steps to format your flash drive using PowerShell:
1. Open PowerShell
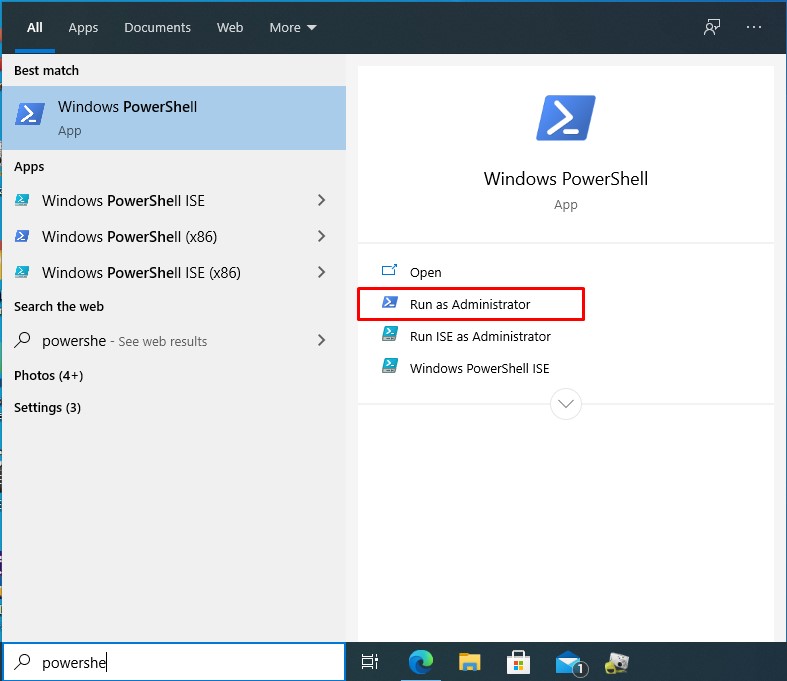
Press the Windows key, type "PowerShell", and click "Run as Administrator" on the right.
2. Format the Flash Drive
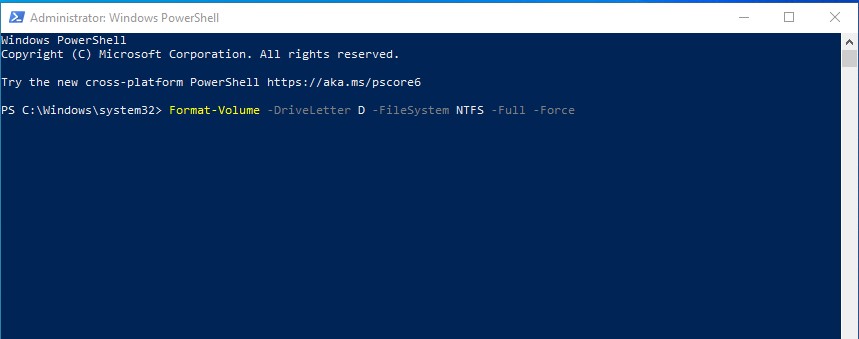
Once the PowerShell window opens, enter the following command: Format-Volume -DriveLetter D -FileSystem NTFS -Full -Force
Make sure to replace "D" with the correct drive letter assigned to your flash drive. To find this, check File Explorer before proceeding.
In this example, we select NTFS because it offers better features. However, if you prefer a different format, replace "NTFS" with "FAT32" in the command.
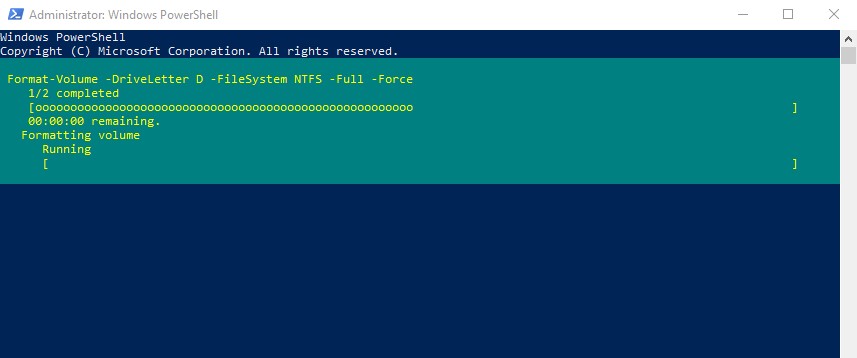
After entering the command, press Enter and wait for the formatting process to complete.
4. Using File Explorer
While Disk Management and PowerShell offer more streamlined methods than Command Prompt, Windows also provides the simplest way to format a flash drive, through File Explorer. Here’s how:
1. Open File Explorer
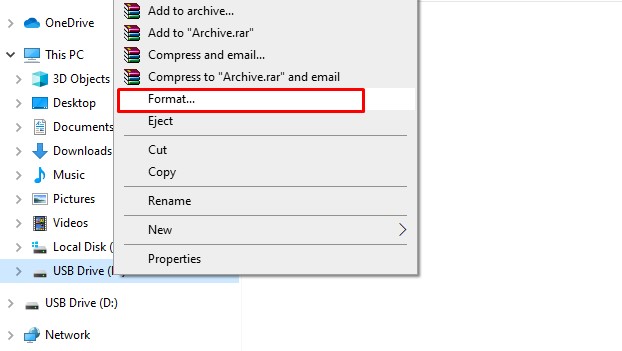
First, ensure your flash drive is properly inserted into a USB port. Then, press Windows + E to open File Explorer. Locate your flash drive, right-click on it, and select "Format...".
2. Format the Flash Drive
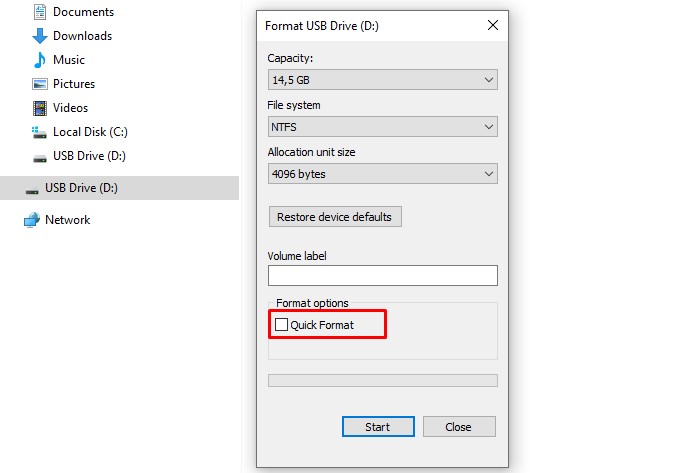
Choose a file system based on your needs, then leave the "Allocation unit size" at its default setting. Uncheck "Quick Format" under Format options, then click "Start".
A warning message will appear, ignore it and click "OK". The formatting process will begin. It may take some time, so be patient.
If your laptop cannot read the flash drive, formatting is often the last resort after trying scan and repair or updating the driver.
Keep in mind that the four methods above perform a full format, which takes longer than a quick format. Although Disk Management and File Explorer offer a Quick Format option, selecting it skips the bad sector check.
Checking for bad sectors is important to prevent file corruption and restore your flash drive’s structure. This process helps ensure that your files remain safe and your flash drive functions properly.